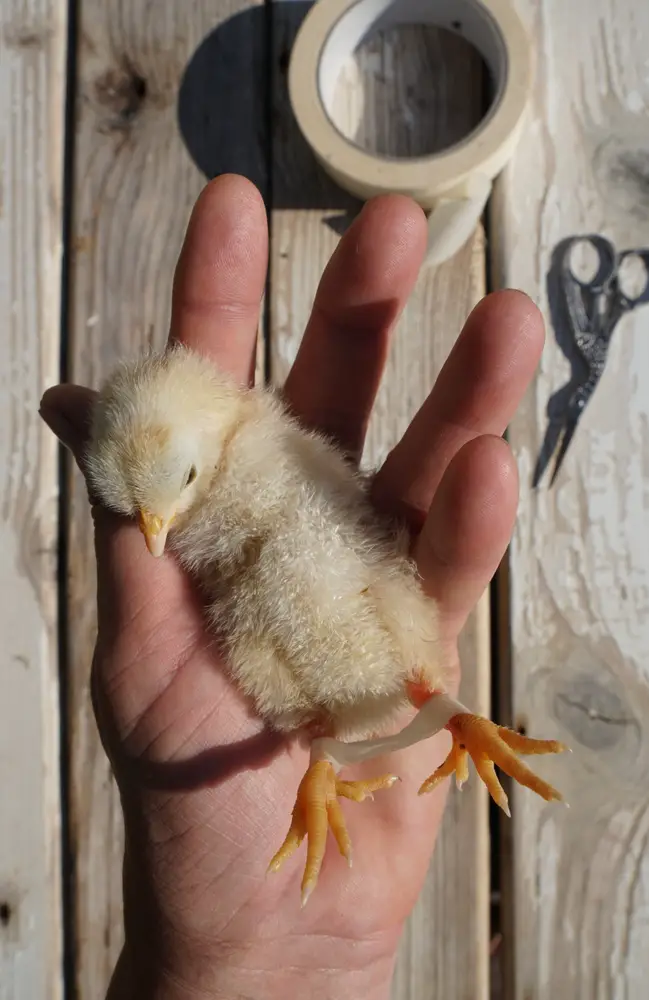
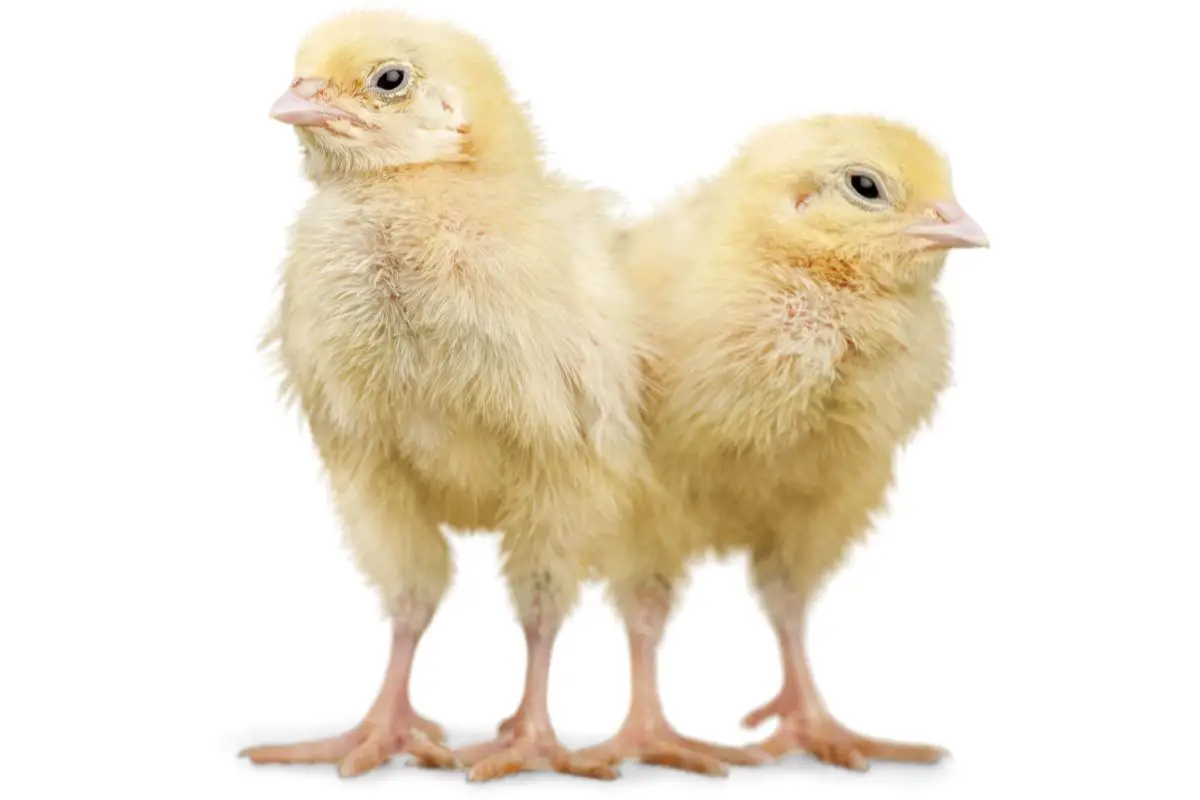
Spraddle leg or splay leg is where a baby chick's feet are turned sideways which limits their ability to move around in the brooder. This is often caused by a slippery brooder surface or unfavorable conditions but can be treated quite successfully with a leg brace.
Splay leg is one of the most common health problems in young chicks where they are unable to move or walk properly. To make matters worse, the condition can be fatal without treatment because of the chick’s inability to reach its food and water, so spraddle leg requires quick intervention.
Fortunately, it is easy to treat splayed or spraddle leg. If treated properly at an early stage, chicks with splay leg have a high chance of recovering and can grow into normal, healthy adult chickens.
What is Spraddle Leg in Chickens
Splayed leg or spraddle leg in chickens is a condition that affects newly-hatched chicks. This condition is essentially muscle weakness in a chick’s feet and legs.
The affected chick’s leg moves to the side, which makes the chick unable to move or walk around. It can be caused by fluctuation in temperature during incubation, unfavorable conditions during hatching, a vitamin deficiency, or a slippery brooder surface.
Additionally, the newly hatched chicks can also develop curled toes or crooked toes after being hatched.
The same problem that causes spraddle leg can also lead to toe problems. Chicks with curly toe paralysis will look as if they are moving around on their hocks while crooked toes are toes that are curved sideways, making chicks walk sideways.
Causes and Treatment
Splayed leg has several causes.
In young chicks, splayed leg is caused by:
- Fluctuations in incubator temperature
- Excessive humidity during the incubation process
- Unfavorable conditions at hatching
- Nutritional deficiency or poor diet in the parent chickens, mainly related to vitamin B, zinc, choline, or manganese
- A problematic hatch
While in older chicks, splay leg is often caused by:
- A foot or leg injury
- Being crushed by other chicks (this can occur in under-heated or overcrowded brooders)
- Slippery surface like newspaper, cardboard, or plastic on the brooder floor
Treatment for spraddle leg is more effective and easier with baby chicks as their muscles and bones are more flexible and respond well to treatment. You most likely already have what you need at home.
The younger a chick is during treatment, the higher the chances of achieving proper leg function. While if left untreated, spraddle leg can cause death because of the chick’s inability to easily reach their food and water. Chicks should be able to stand and move around freely within 2 to 7 days.
To treat splay leg or spraddle leg in chicks, their legs should be hobbled, braced, or restricted to provide proper stability, enable the chicks muscles and bones to strengthen and hopefully grow in the correct position. This strap or hobble will help prevent the leg from wobbling and help fix the musculature, with Vet Wrap often being the tool of choice while band-aids, hair ties and masking tape can also work.

By maintaining the stability of the two legs, Vet Wrap will help adjust the legs and ensure the chick starts walking in a normal way and increasing their chances of survival.
When tying the hobble around the legs, avoid stretching it. This may make the hobble too tight and cause more damage by reducing blood circulation to the baby chick’s feet.
You should keep the hobble on the baby chick for a maximum of 24 hours, then remote it and observe your chick walking. If it still looks weak, you can apply another hobble. While some chicks heal from spray leg within 24 to 48 hours, you may need to repeat this process for the next 3 to 4 days.
Ways to Prevent Spray Leg
- Provide your chicks and chickens with a high-quality feed and for older chickens, reduce the volume of treats
- Before incubation, calibrate a different thermometer and put it in the incubator to keep track of the temperature.
- Avoid slick or slippery surfaces in the brooder and coop, and provide paper towels or pine shavings instead
- Provide enough heat and space in the brooder because chicks can huddle together when they get too cold. The chicks could end up crushing the ones on the bottom.

